
Suggested Sizing & Perfect Placement
Learn about industry standard sizing, why it doesn’t really matter, how to measure for your garments, and exactly where to place your custom transfers.
Measure Twice, Apply Once
You remember the old adage measure twice, apply once – right?
When possible, best practice is to measure your blank garments before you order your custom transfers. Use whatever works – ruler, yard stick, twine, tape, copy paper, etc. – to figure out what measurement will look best for the project you’re working on.
Measure your desired sizing by cutting up a sheet of paper.

Sizing is largely a matter of personal preference.
THE BEST CUSTOMIZATION TIP YOU’LL EVER READ: We say this with many, many years of experience in the custom apparel industry: Sizing is mostly a matter of personal preference. We’ll say it louder for the people in the back: Choose your own sizing! Don’t let your supplier choose your sizing for you. Consider your target market and what’s trending. Get your customer’s input. Your transfer supplier can give you some generalized recommendations (they’re coming up next!), but nothing is better than your own judgement.
Today’s customization market moves FAST. If you must place your custom transfer order before you receive your blank garments, we recommend finding measurement specifications from the garment manufacturer. Many of the blank garment distributors will include this information on their website, but sometimes you may need to track these details down on the manufacturer’s website.
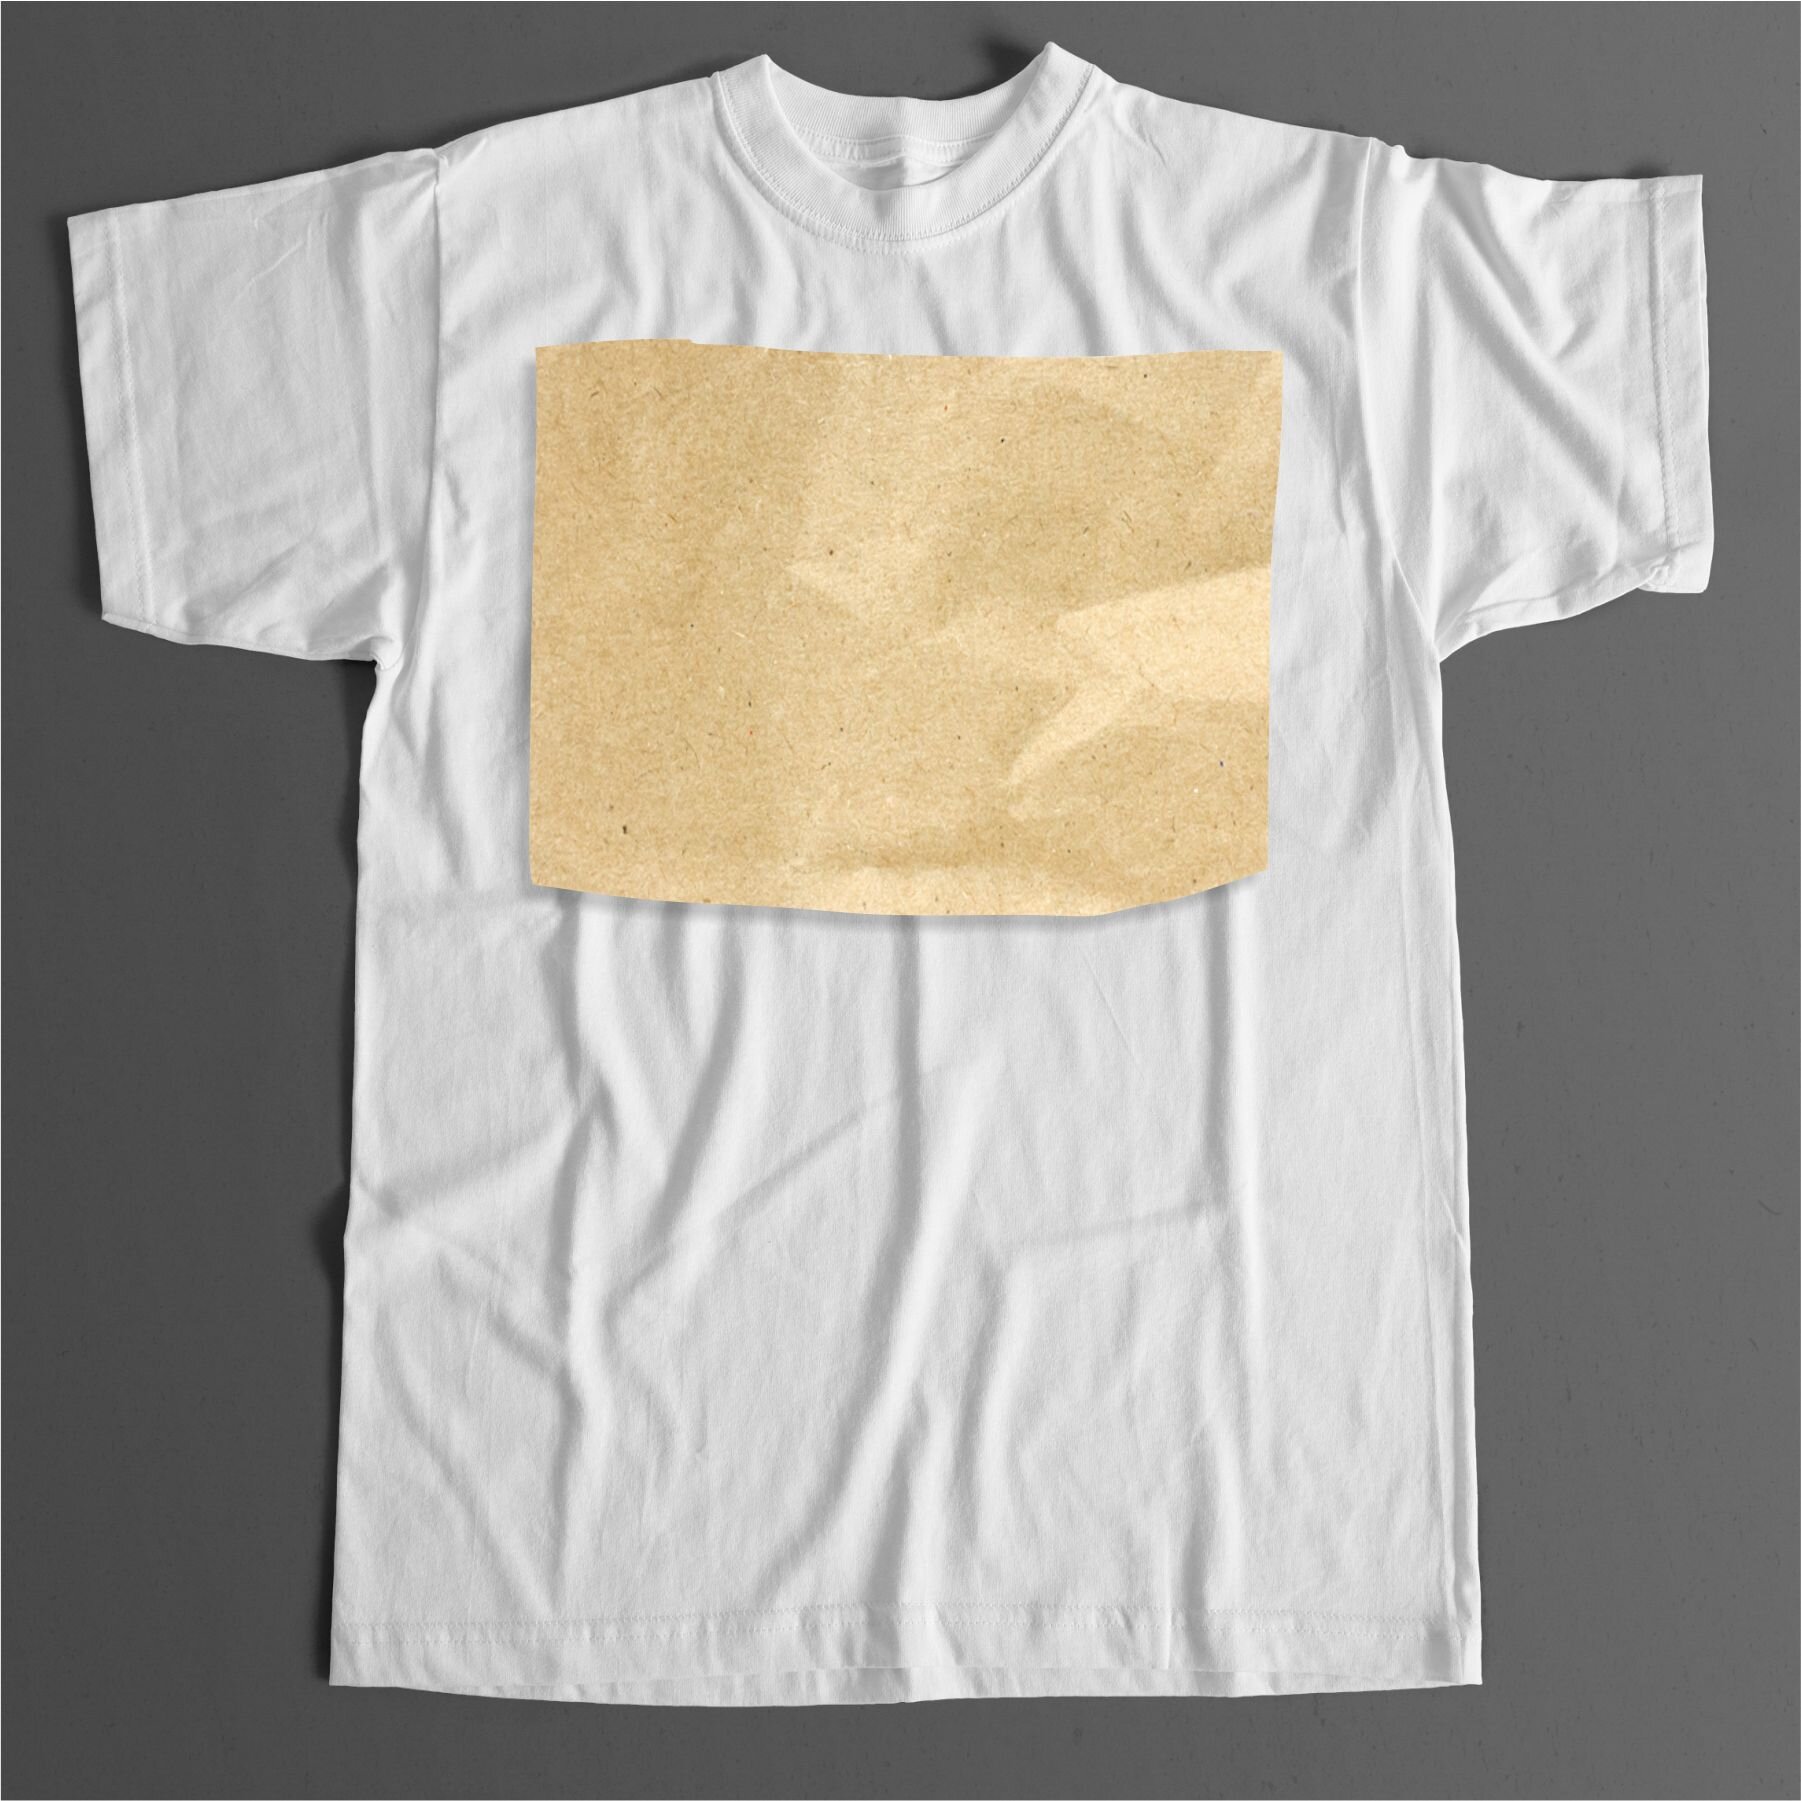
FULL FRONT
SIZING

MENS/UNISEX FRONT
Recommended size: 10” - 12.5” wide

LADIES FRONT
Recommended size: 8” - 10” wide

YOUTH FRONT
Recommended size: 7” - 10.5” wide
In most cases, you can select one universal size for a full chest design that will work on sizes varying from youth – adult. In this case, we recommend measuring the largest adult size to find the smallest possible option that will also fit within the smallest youth size in your order. An image that’s slightly too large applied on a youth sized shirt won’t look as strange as an image that’s too small applied on a XL.

When possible - to save on cost - select a size that fits on all of the garment sizes in your order. We suggest you max out the smallest shirt in your order.
One size doesn’t always fit all. If you need to fit an adult size and a youth size onto the same gang sheet, our Oversize Gang is the perfect size! You can comfortably squeeze an adult full front 12”x10” design on the same sheet as a youth full front 9”x7” (or smaller) design. Consider the potential extra cost of a gang sheet rather than a single image size when quoting your customer!
PLACEMENT
So where should you apply the full chest design? You’ll want the image to fit closer to the collar than you might initially think. We recommend placing the top of the transfer 2-3 fingers down from the collar. Any further down and you’re lookin’ at a belly print – not cute!
Full Back
SIZING
Sizing for a full back logo is usually the same or just slightly larger than a full front design.

MENS/UNISEX BACK
Recommended size: 10” - 14” wide

LADIES BACK
Recommended size: 8” - 13” wide

YOUTH BACK
Recommended size: 7” - 11” wide
PLACEMENT
Draw an imaginary line across from the middle of the sleeve opening. This will be where you want to place the top of your transfer. You could also measure another 2-3 fingers down from the front of the collar.
TIP: If you’re printing on hoodies or any ladies garment, place the image slightly lower than normal. Just above the bottom of the sleeve hole should work. You want to account for any obstruction to the design – hoods, hair, etc.
Heart Region
SIZING
Our “universal” recommended heart region size is 4” wide. If you would like a more impactful print, you could size up about a half inch. On youth sizes, you could size down

HEART REGION
Recommended size: 3” - 4.5” wide

HEART REGION PLACEMENT
Apply where the lines intersect
PLACEMENT
Perhaps the trickiest of placements – the heart region, by rule, generally goes on the left side. Draw an imaginary line down from the outer edge of the collar and then across from the armpit of the sleeve. Place your transfer image where these imaginary lines intersect. It may seem like you’re placing the image too close to the center of the garment, but it’s better that the logo be visible rather than hidden inside your customer’s armpit – not ideal!
Cap/Hat
SIZING
The profile of the cap or hat refers to how shallow or deep the crown is. There will be more space on a high or mid-profile cap and less space on a low-profile cap.

LARGE CAP
Recommended size: 3” x 5”

LOW PROFILE/VISOR
Recommended size: 2” x 4.25”
TIP: A five-panel cap will be easier to decorate using custom heat transfers. This style avoids the center seam that you would have on a classic six-panel hat.
Unique Placements
SLEEVE
Sleeve prints are usually placed on the left side. Draw an imaginary line down from the shoulder seam and center your design to this line.

SHORT SLEEVE
Recommended size: 3” - 4”

LONG SLEEVE
Recommended size: 13” - 14” long
YOKE & INSIDE NECK LABEL
A yoke is the area across the back of a shirt, near the collar. This print area has become increasingly popular recently. It’s a great opportunity to modestly showcase your brand. This placement is ideal for men’s wear and usually not used for ladies as it may get covered by long hair.

YOKE
Recommended size: 4” wide
INSIDE NECK LABEL
Recommended size: up to 4” wide
It may seem like you need a super tiny tagless label, but reconsider. The larger it is, the easier it will be to produce, to print, and to read once applied to the garment.