
4 Common Heat Printing Mistakes
Are you making one of these four common heat printing mistakes?
MISTAKE 1: Using a Teflon Sheet
Have you heard? Using Teflon as a cover sheet is a no-no. The Teflon sheet acts as a heat barrier, blocking the heat from your top platen. This can decrease the application temperature from 10-20 degrees and result in adhesion issues or under application.
Instead, try this:
If you need to use a cover sheet, we recommend silicone paper, parchment paper, or butcher paper. These materials shouldn’t affect the amount of heat getting from your top platen to your printing substrate.

As a cover sheet, use silicone or parchment paper instead of Teflon which can decrease the application temperature.
If you absolutely need to use Teflon, bump your application temperature up at least 20 degrees. This should help compensate for the heat barrier.
MISTAKE 2: Under applying to avoid scorch marks
It seems like an easy fix – lower your temperature and/or pressure to avoid scorching delicate materials. Nope! When you lower the temp/time/pressure during application, you run the huge risk of under-applying your transfer. It may seem like it adhered just fine, but if the ink has not cured properly, you can bet the design will crack or peel once washed.
Instead, try this:
Here are a few tips and tricks to avoid scorching or minimize the look of scorching:
Use a silicone printing pad, mouse pad, or Teflon pillow inserted between the garment and the bottom platen. The raised surface can help “feather” the look of scorching.
Apply heat to the other areas of the shirt. That’s right, scorch the whole thing! This option may be more time consuming, but often this is the only option to truly mask the scorch mark.
Spray the scorch marks with 3% hydrogen peroxide. This method can remove minor scorching on some synthetic and heat sensitive fabrics like rayon and viscose.
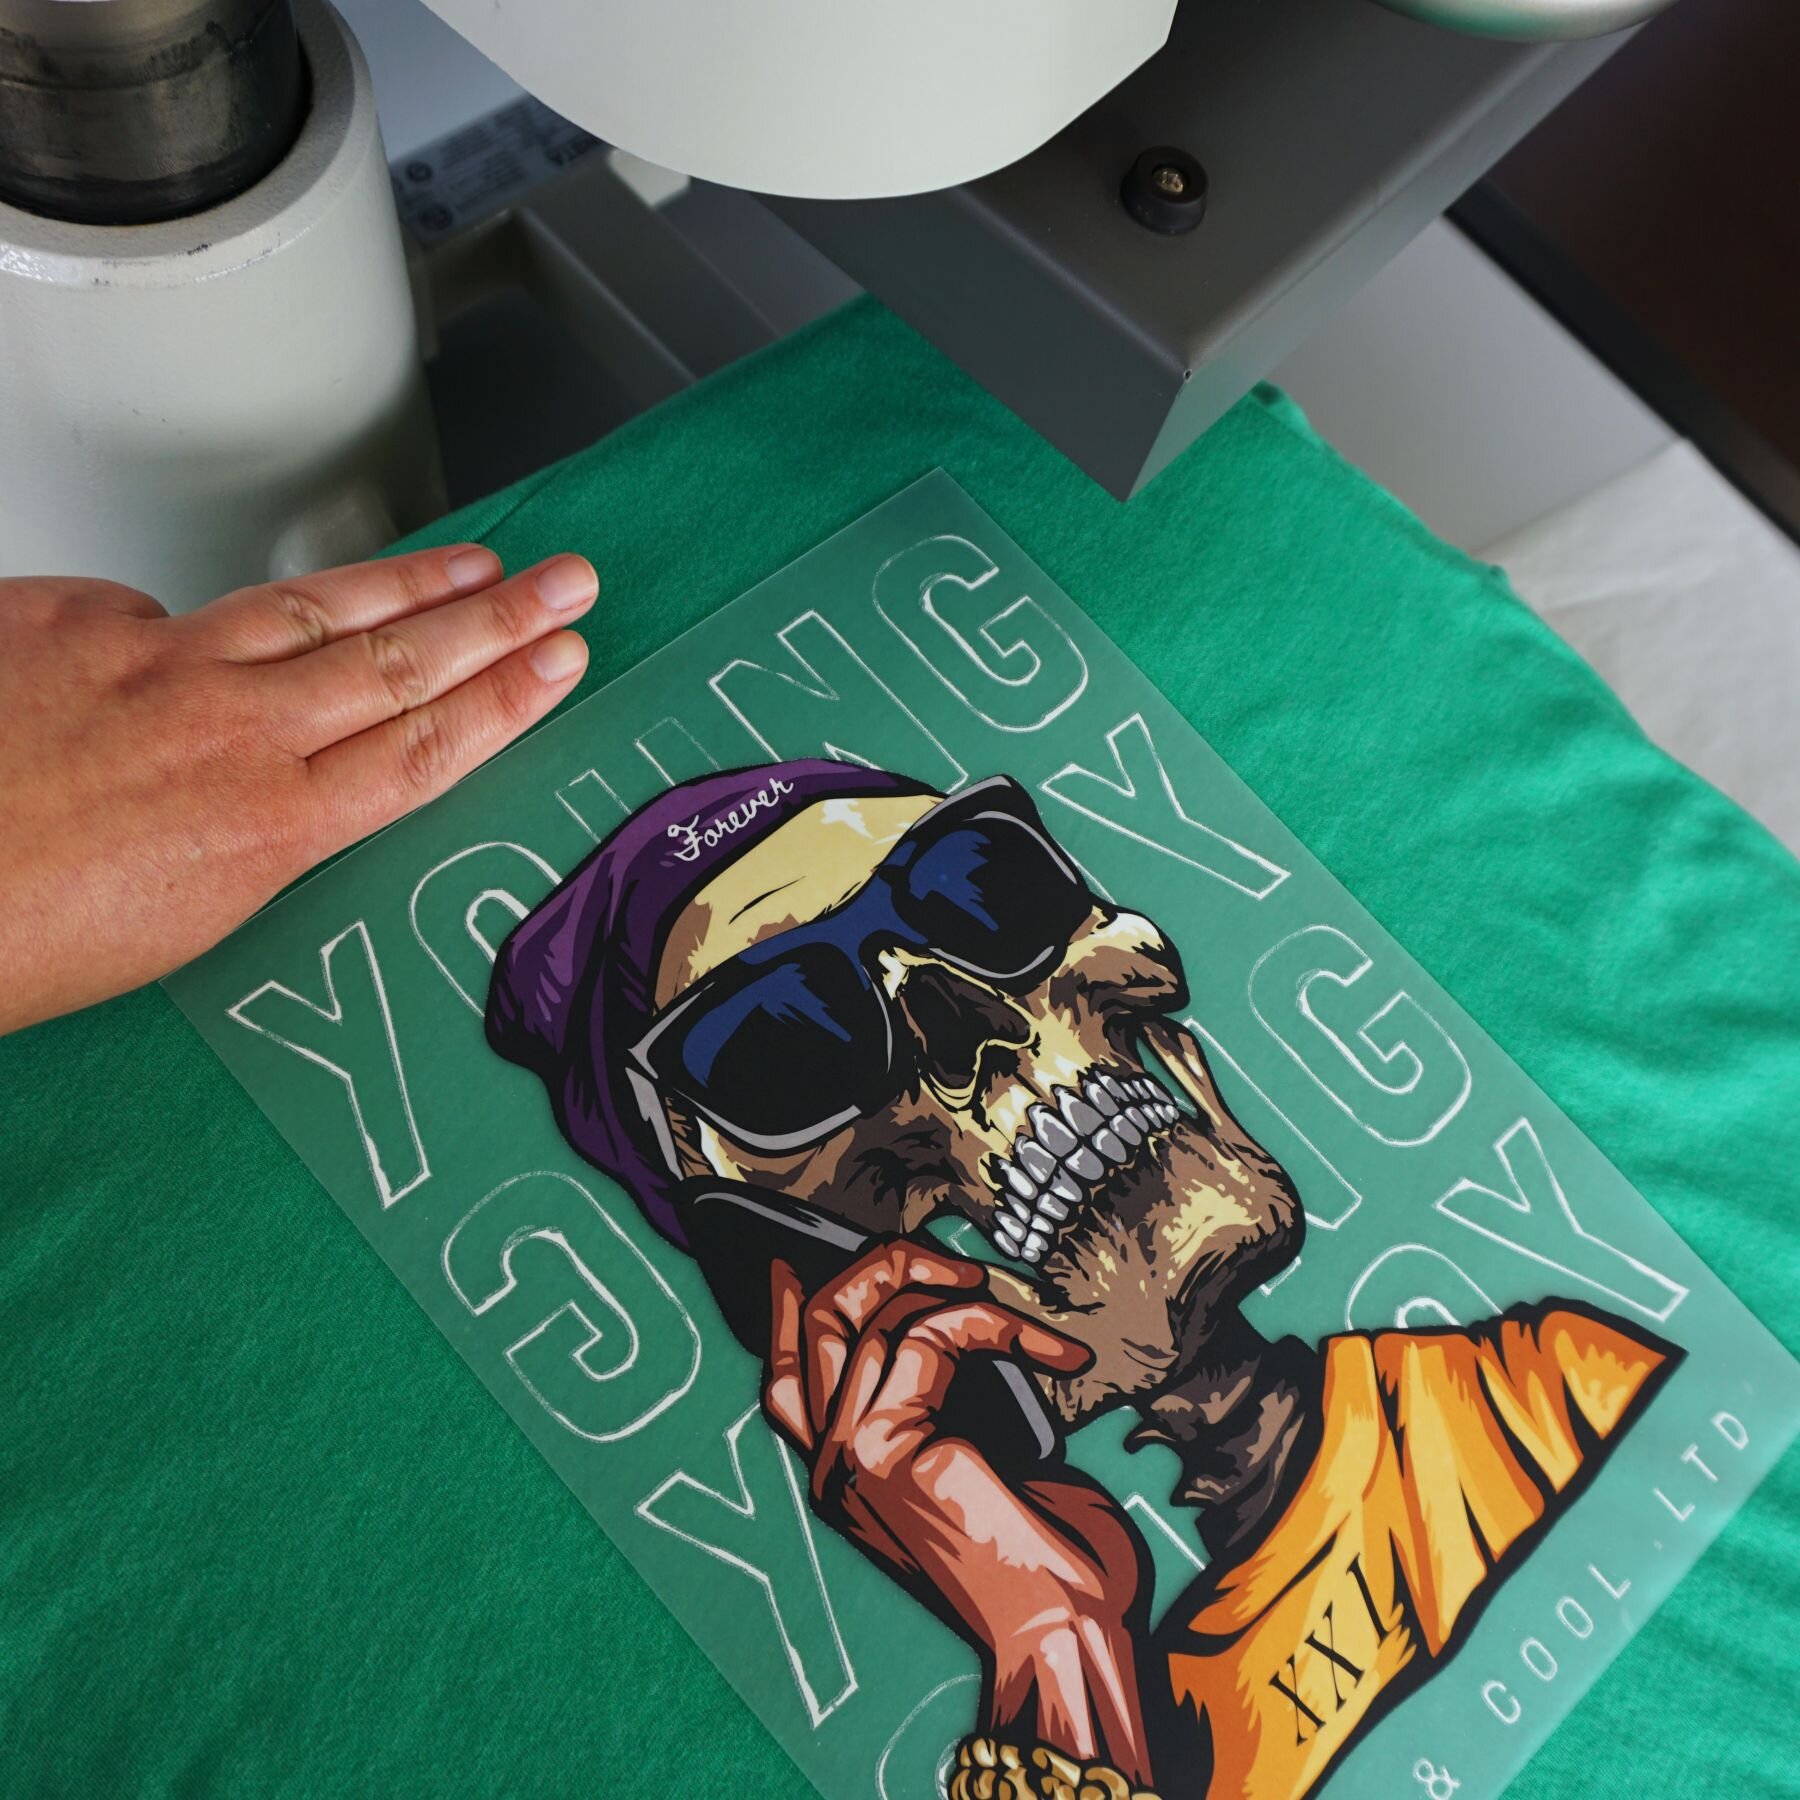
MISTAKE 3: Beginning application before testing
We get it – you’re excited to get started or you’re in a hurry to meet your deadline. Just hear us out. Proofing and test printing your transfers before you begin each job can save you time and money in the long run.
Instead, try this:
Proof your order. Spend a few minutes looking everything over. Count your sheets and make sure it’s all there. Check art, check spelling, check colors. You’re human. We’re human. Mistakes happen and we’d rather catch it before finishing up a 100 piece order, right? If anything looks wrong, give us a call!
Test print. We include at least one extra transfer with every order. If you think it’ll take you more than one test to zone in on the right time/temp/pressure settings, cut the transfer into quarters. Again, if something doesn’t look right or you can’t get a perfect application, give us a call!
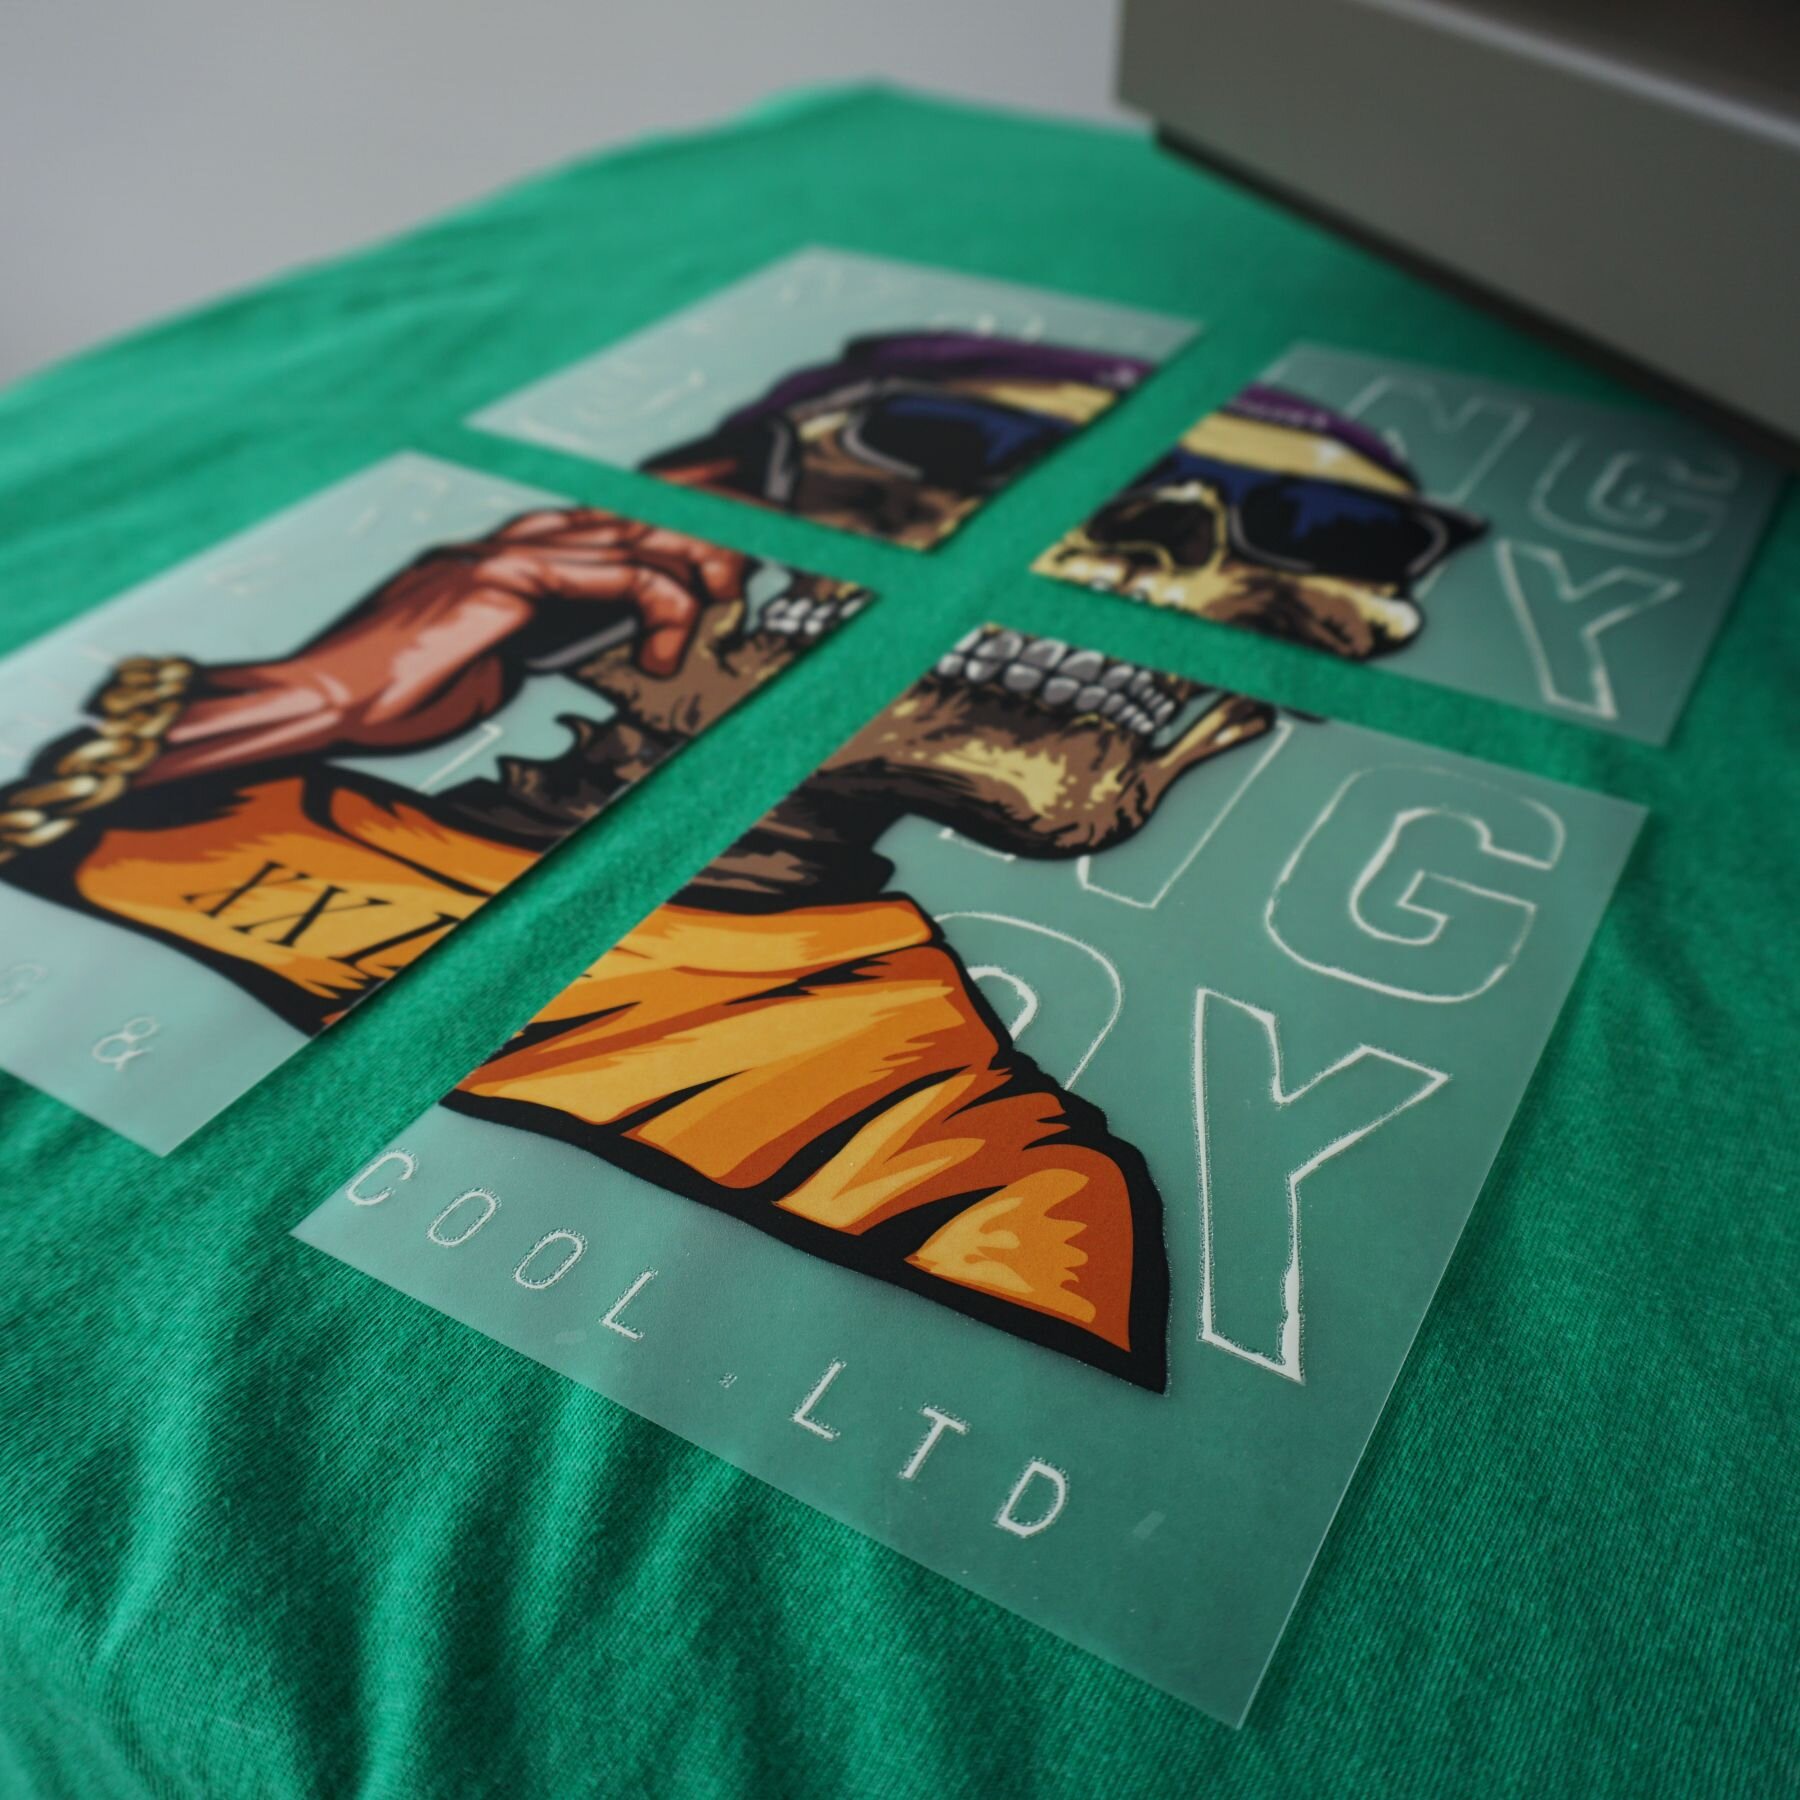
Test print your transfers before you begin application. We recommend cutting an extra transfer into quarters for more than one test print.
MISTAKE 4: Improper image placement
Trying to decide where to place your transfer while the shirt is laying on a table is a whole lot different than when the shirt is fitted to a human body. Avoid the dreaded belly or armpit print by learning proper image placement.
We recommend a full chest image be placed 2-3 fingers down from the collar of the shirt.
Instead, try this:
Use heat tape to secure the transfer onto the garment and then throw it on a mannequin (a human will work, too!) to see how the image lays once the garment is being worn. The most common placement mistakes are placing a full front too low and placing a left chest too close to the armpit.
You can also read up on proper image placement and sizing in our helpful blog post, HERE. We provide tips and tricks for choosing the right sizing as well as how to find the perfect placement for various applications.